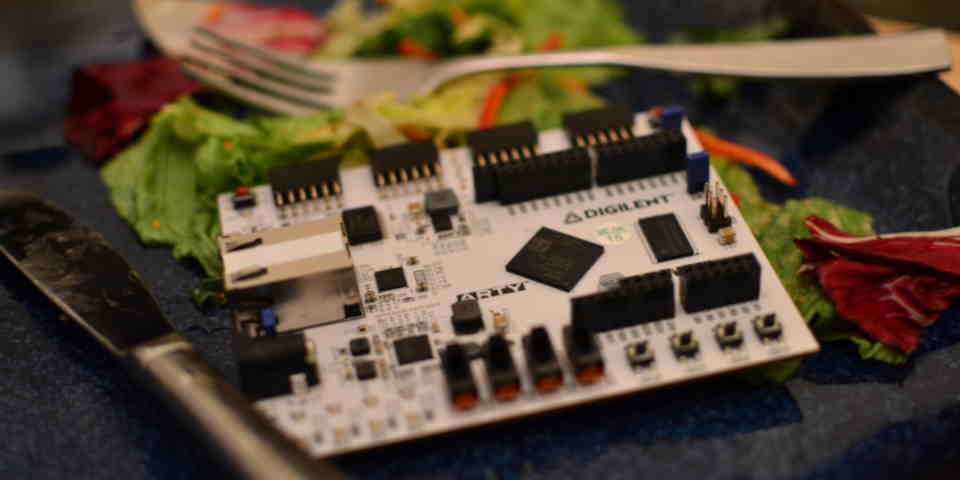
The Arty A7-35 is a development board which features a Xilinx Artix-35T FPGA. It features a 450 mhz clock, a big pile of LUTs, and a bunch of IO pins and some other nice things. The only toolchain for it that I am aware of is proprietary, but it is available on Linux and seems to work reasonably well.

I recently ran through setting up the development environment on a Windows 10 machine, so here is a rough outline of the process:
Follow the Installing Vivado and Digilent Board Files 💾 guide. The "Vivado WebPACK Edition" is the "edition" you want specifically.
The guide linked in the previous step explains how to install the build files, but it didn't work for me.
Here's what I did instead: Download the board files, and extract them somewhere. Look for the folder "vivado-boards-master/new/board_files/" in the extracted files. Copy the contents of that folder into "C:\Xilinx\Vivado\2018.2\data\boards\board_files\".
Create a new project via the workflow described in the Getting Started With Vivado 💾 guide. Import the "XDC" constraint file into your project. I recommend selecting the "copy" option instead of the "link" option, since you'll modify it.
Here's a simple blinky light example I wrote that you can use to make sure it works, and here is the modified subset of the xdf file" needed to make that blink example work on the Arty A7-35.
First run "Run Synthesis".
The do "Run Implementation".
The do "Generate Bitstream".
If you run out of ram for either of these, lower the number of jobs. If a step fails, fix the errors before moving onto the next step.
The resulting bitstream file will show up in Path\To\Your\Project\ProjectName.runs\impl_1\blinkfrien.bit or something like that.
Open the hardware manager. Click the "Open Target" (in the side bar or at the top of the window) link and select "Auto Connect". After it connects, click "Program Device" in the Flow Navigator, or right click on the thing that says "xc7a35t_0 (1)" in the little tree view and select "Program Device...". Point it to the bitstream file from the previous step and hit "Program".
Assuming you used my blink light example linked above, you should see LD4 start blinking on the board. This program will continue to run until you unplug the board.
For more information about programming the board consult the Arty Programming Guide 💾. This includes instructions on how to make your program persistent via the quad SPI flash.